You have 0 items in your cart
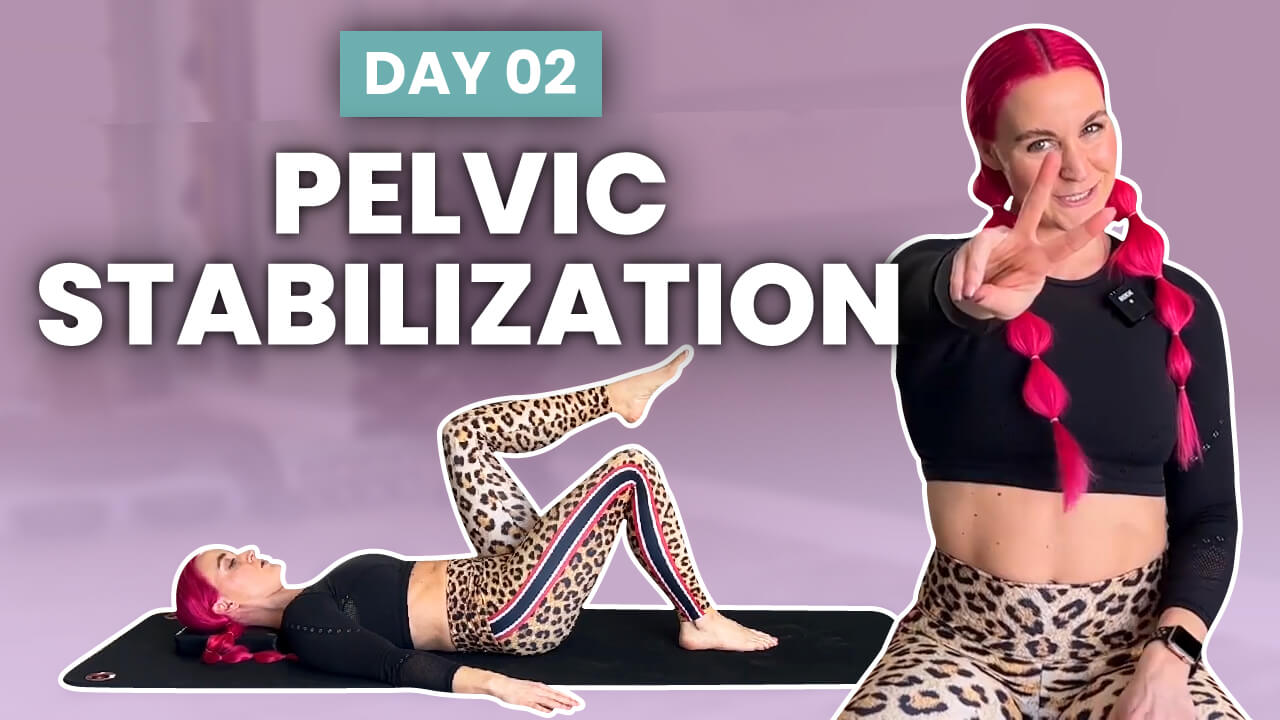
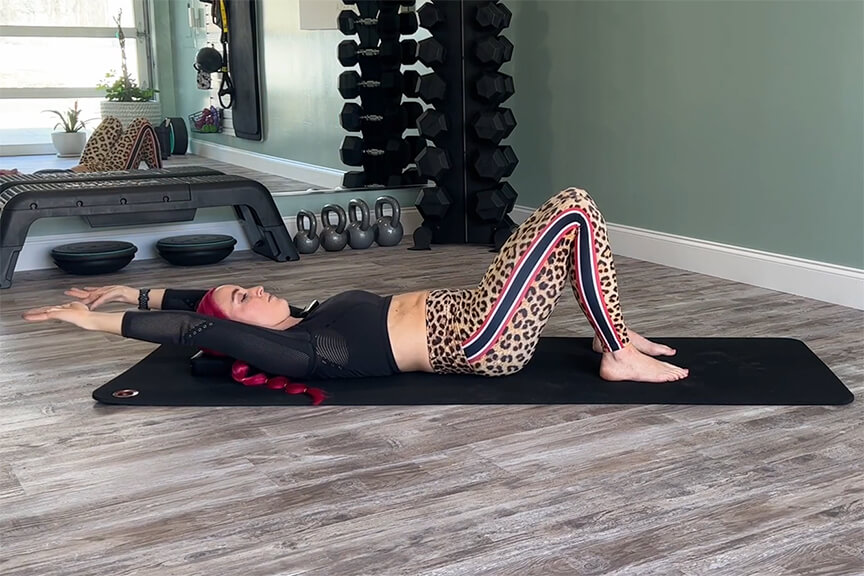
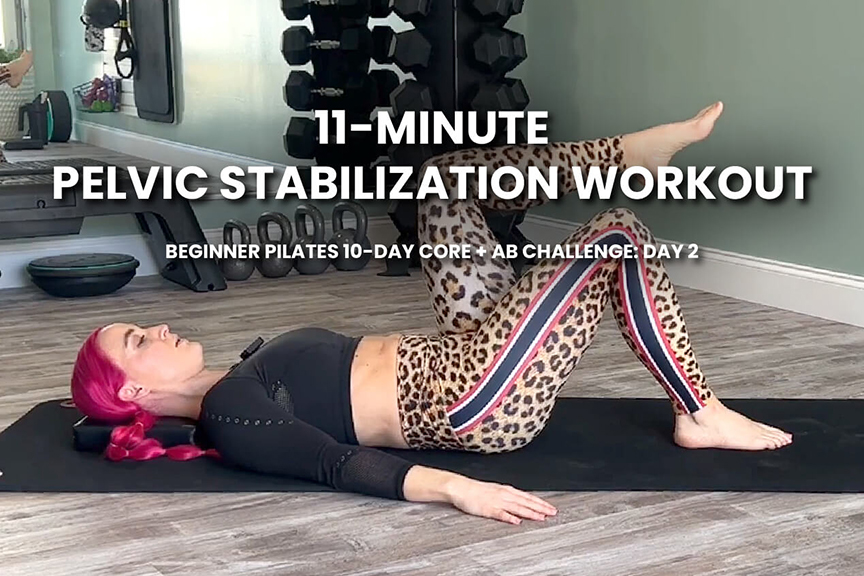
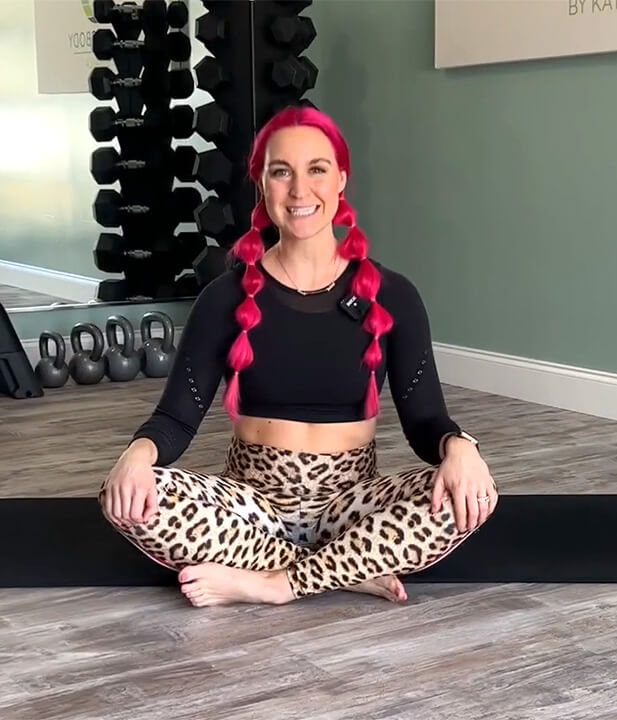
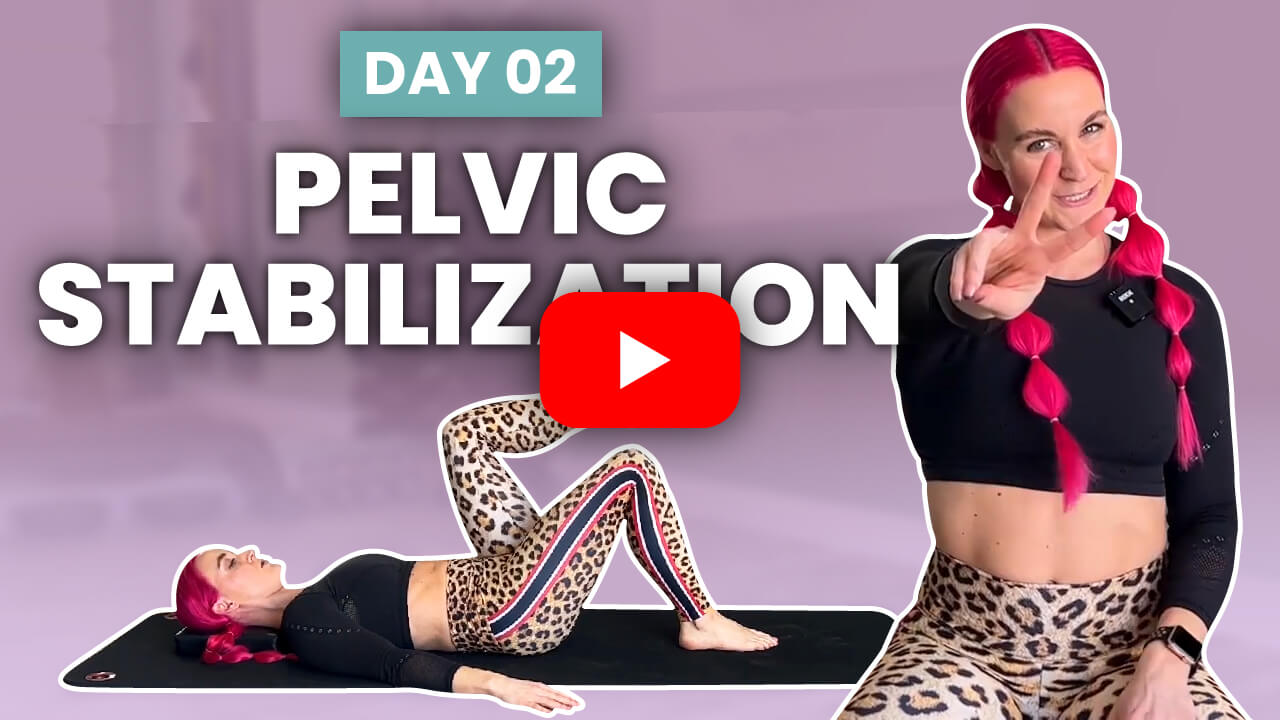
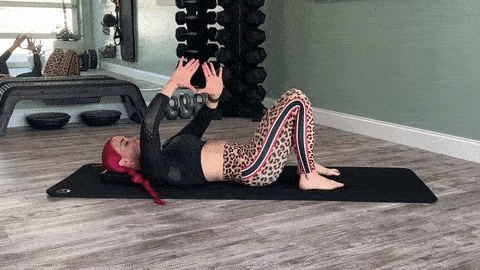
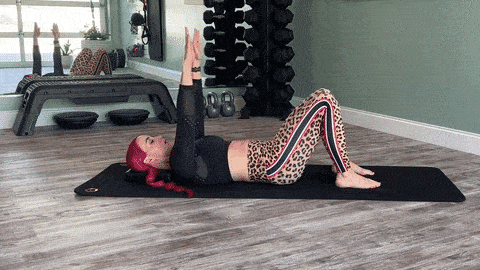
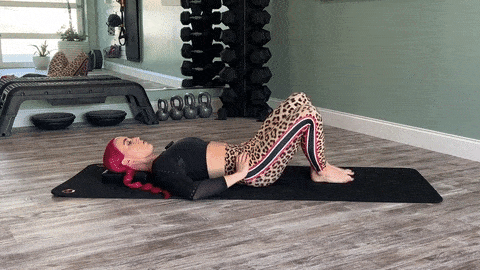
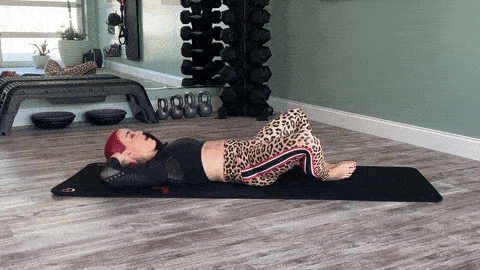
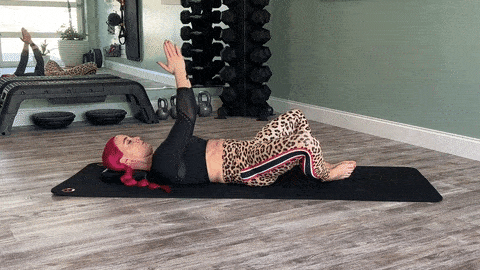
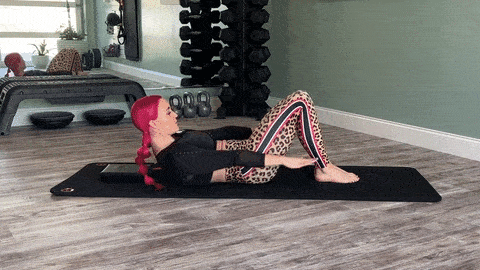
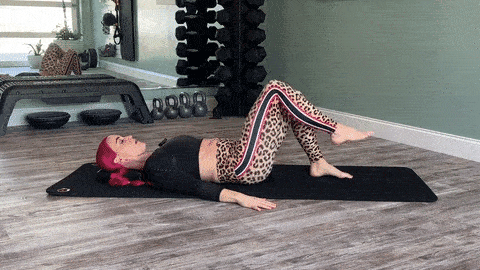
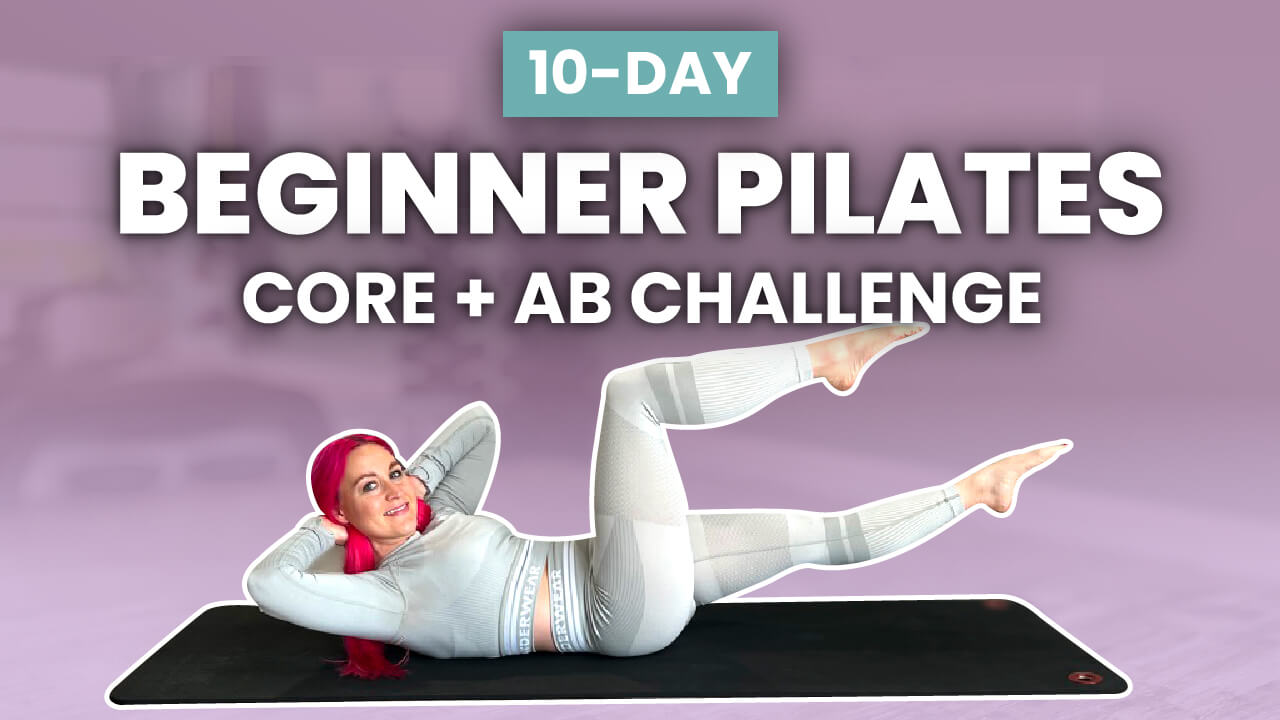
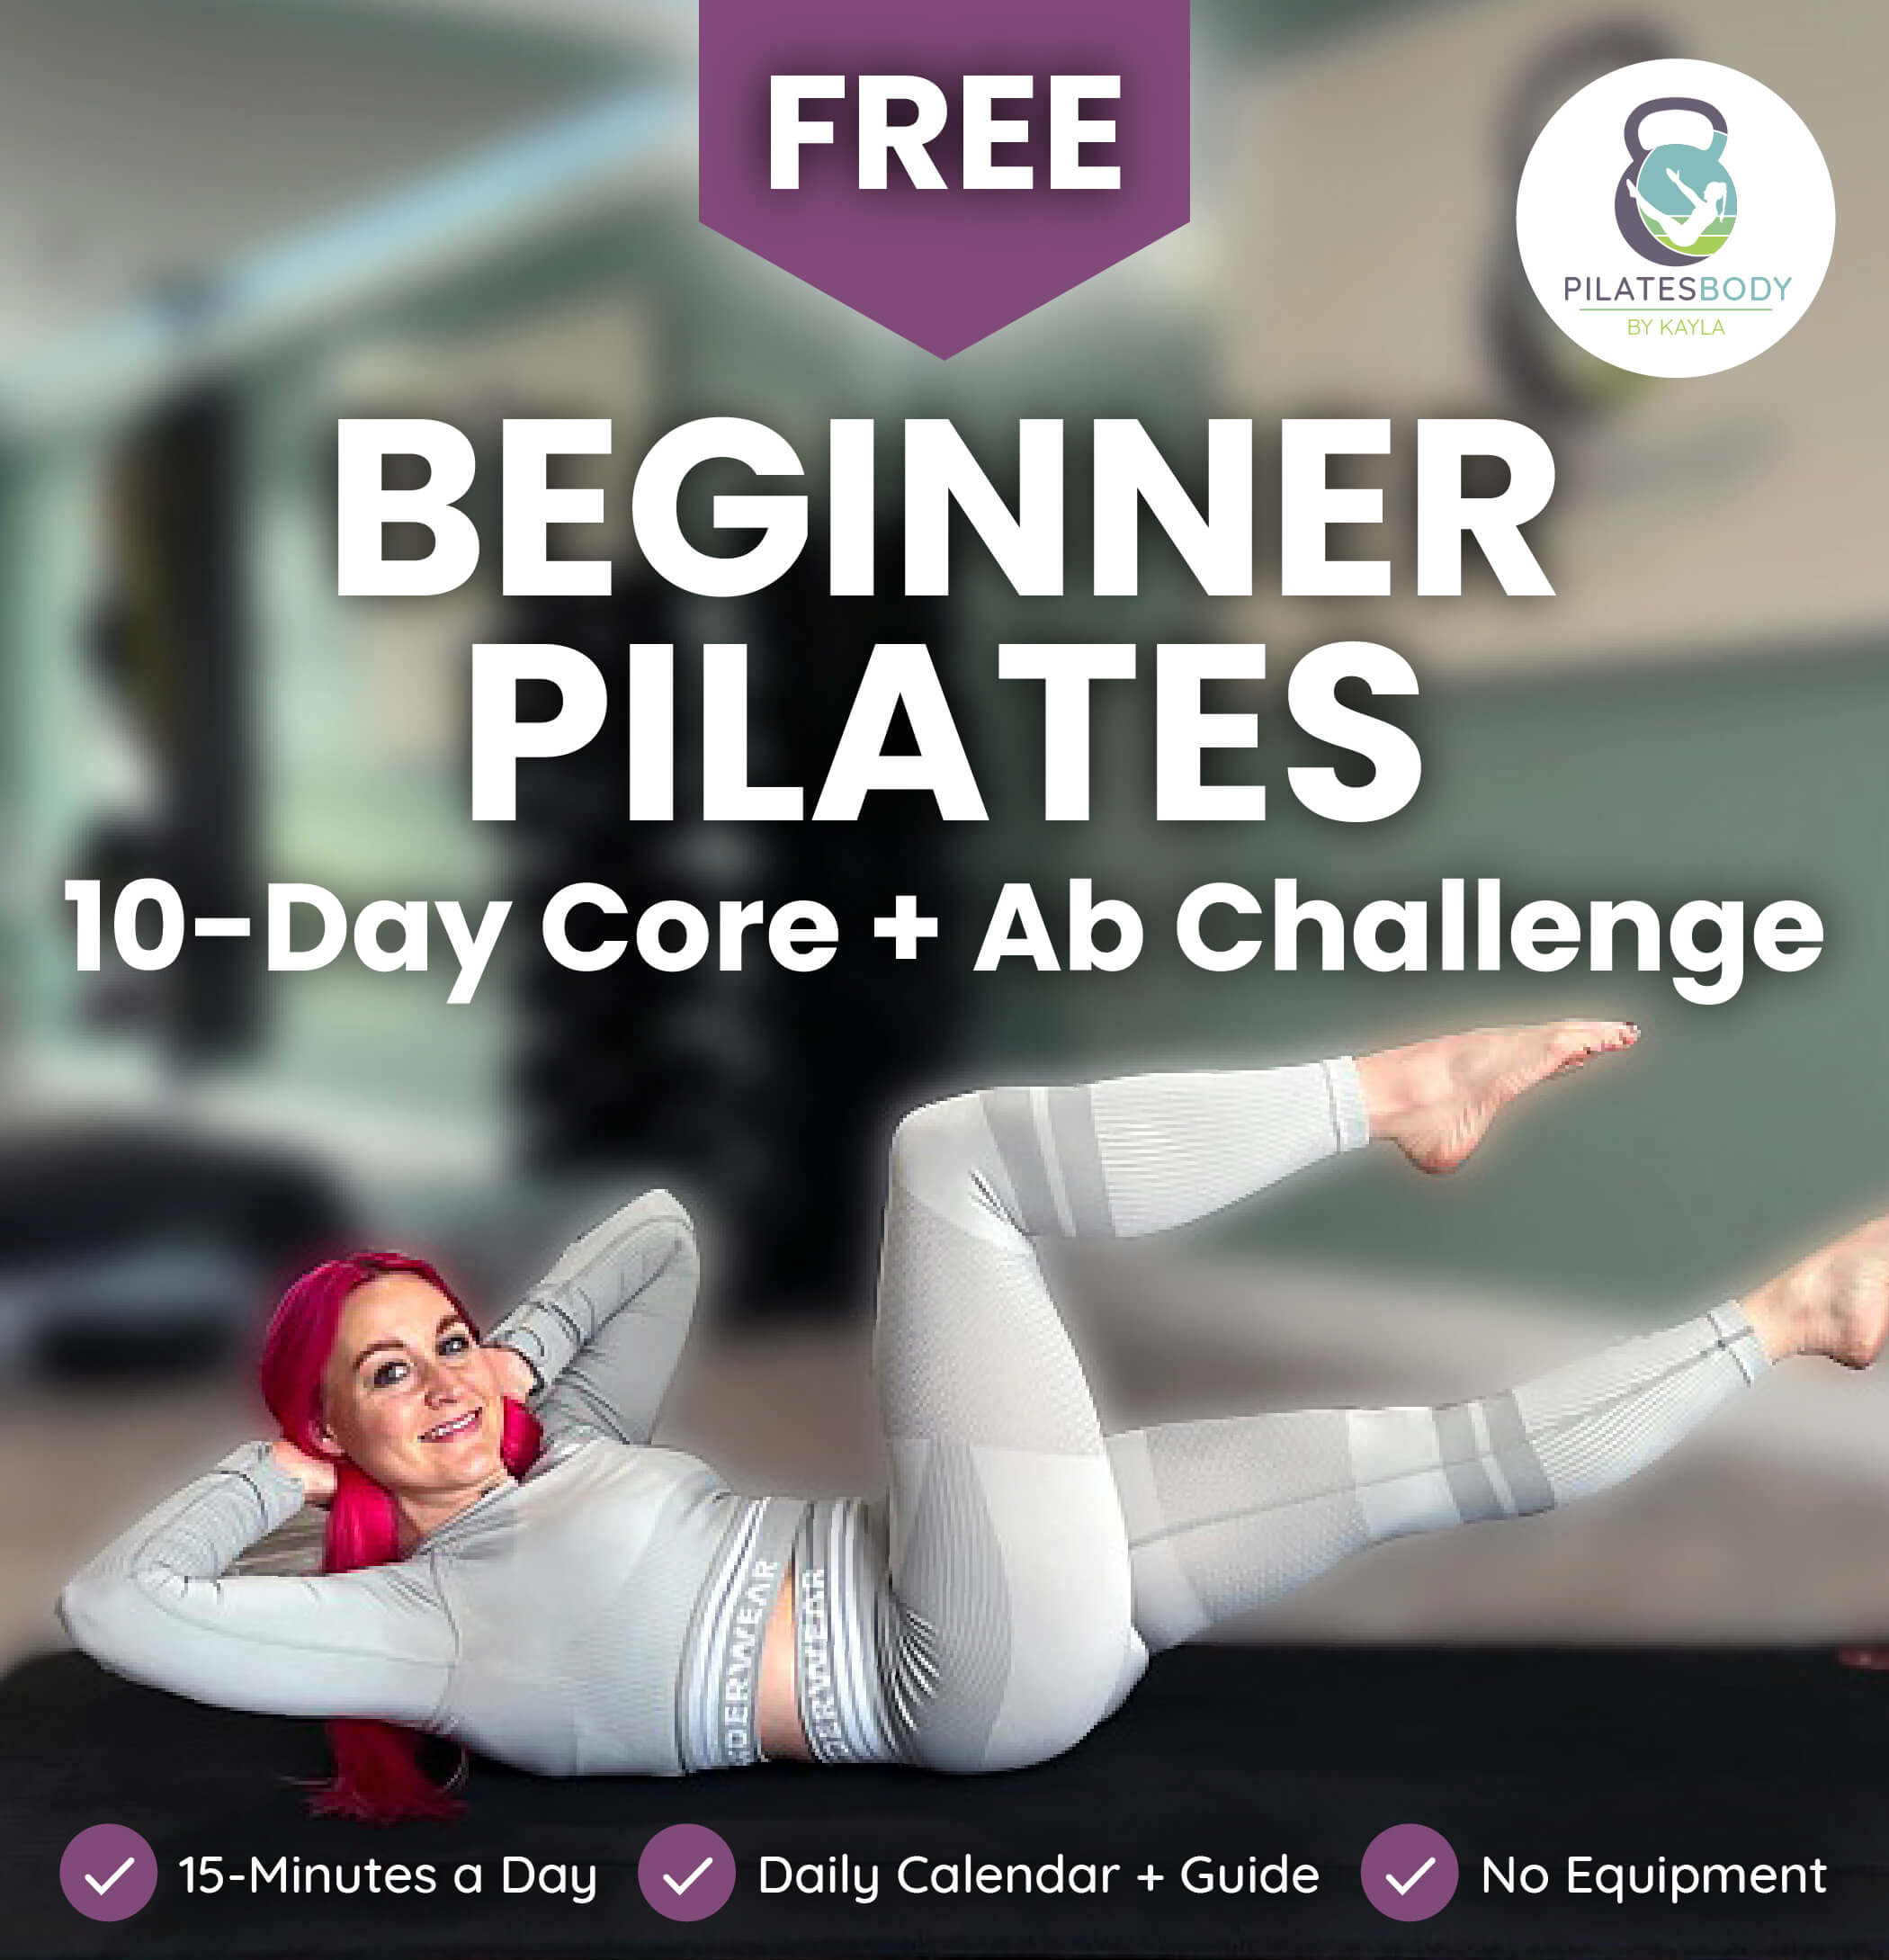
For those new to Pilates, this workout is a great starting point for building core strength and pelvic stability. By focusing on core engagement, each exercise is designed to activate the inner abdominals and support spinal-pelvic stabilization. Remember to breathe deeply and move slowly, keeping the back neutral throughout this at-home Pilates workout. Be sure to fully engage your core and avoid arching your lower back, even if you need to do a smaller movement.